
Tunneling iTunes through SSH
OS X itunes · linux · OS X
If you want to listen to your music library on the go, you can tunnel iTunes through SSH in a few easy steps.
First of all, you have to enable sharing in iTunes: iTunes > Preferences > Sharing > Share my library on my local network.
This will announce your library on your local network using multicast DNS, provided by Apple's implementation of zeroconf: Bonjour. The library can then be accessed on port 3689 of the computer mDNS announced.
Hence, to access your local library on a distant network, we will implement two things: ssh tunneling of port 3689 for the data to be transmitted, and mDNS announcement of the library on the new network so iTunes is aware of where to get it.
We will assume:
- local = where me & my laptop are
- remote = where iTunes is (=server).
Tunneling port 3689
We will tunnel port 3689 of the remote computer to a port of your choice on your local computer:
ssh -N florent@myServer -L 3690:localhost:3689 -f
-L is the standard syntax for SSH tunneling. man ssh tells us the three arguments stands for port:host:hostport; as in “send data received at my own port to the hostport of said host”. Here for example, it means: tunnel all data received on my port 3690 to this SSH connection's localhost (myServer) on its port 3689.
Feel free to change 3690 to the port of your choice, replace florent@myServer by your own login/host combination, and add a -p if you use a non-standard port for SSH (which is a Good Thing(tm)!).
The -f argument means the SSH tunnel will stay in the background. Finally, -N tells SSH not to execute a command on the remote side (i.e. launch a terminal on the server), meaning we will only use this connection to forward data.
Announcing the library
We will use this command to declare the new library:
dns-sd -P iTunesServer _daap._tcp local 3690 localhost.local 127.0.0.1 &
This command sets up a DNS proxy (-P) called iTunesServer, retransmitting DAAP announcements, on the local domain, on port 3690 of host localhost.local (at address 127.0.0.1).
You should get the following output from dns-sd:
 Registering Service iTunesServer._daap._tcp.local host localhost.local port 3690
 0:24:30.140  Got a reply for service iTunesServer._daap._tcp.local.: Name now registered and active
 0:24:30.140  Got a reply for record localhost.local: Name now registered and active
Note that this will only advertise the library on your own computer. If you want other computers on your network to see the library you're tunneling to, use the following command, where ComputerName is the Bonjour name of your computer (set in System Preferences > Sharing > Computer Name):
dns-sd -P iTunesServer _daap._tcp . 3690 ComputerName.local ComputerName.local &
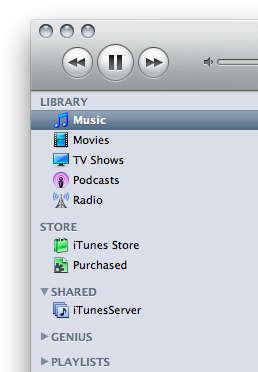
Annd your library will show up in iTunes!
Playback can be a bit choppy if your server's upload or laptop's download is low, but it usually should be okay - MP3 and AAC yields great results around 192 to 320 kbps, equivalent to an average 25 to 40 kB/s transfer rate.
Note that this method also allows you to use a password (set up in iTunes) to protect your shared libraries.